Ok, here it is, my first build log. Well, the first part of a build log anyway.
You think steampunk, you think goggles. The two go hand-in-hand, so this is a good a place as any to start. I’m pretty anal about taking photos as a I go with my projects, so I’ll talk through each photo and it should all make sense
The easiest place to start, was with the base. I bought a pair of pretty regular goggles from Blue Banana for £10 then coated them in Plasti-Kote Chrome spray paint. I tend to use pretty much entirely Plasti-Kote spray paints for my steampunk jobs, as they give a nice finish, BUT they do take around five days to dry fully. The advantage of this is that if you want to give you paint a weathered finish, you have plenty of time to do so.
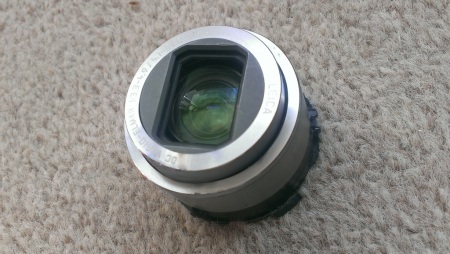
I dismantled an old compact digital camera (quite a time-consuming task actually) and removed the lens. I’d measured the diameter of it and it was a few millimetres less than the eyepiece, which was convenient.
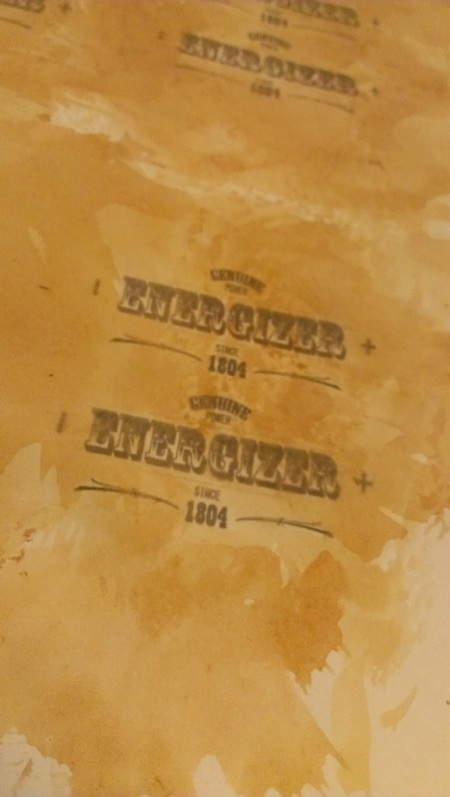
I wanted to make some old looking batteries, so I researched some vintage label styles, and designed one in Photoshop with the dimensions to cover an A4 battery (46mm wide x 44mm high) in 300dpi on my laptop, then printed it out and stained it by dipping an almost dry tea bag on it, then left it to dry.
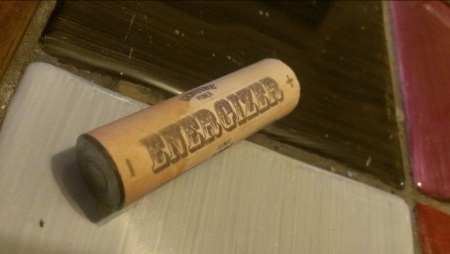
One of the labels was then cut out with a guillotine and stuck to an A4 battery (that I’d removed the plastic wrap from) with spray mount as a test. It fit fine.
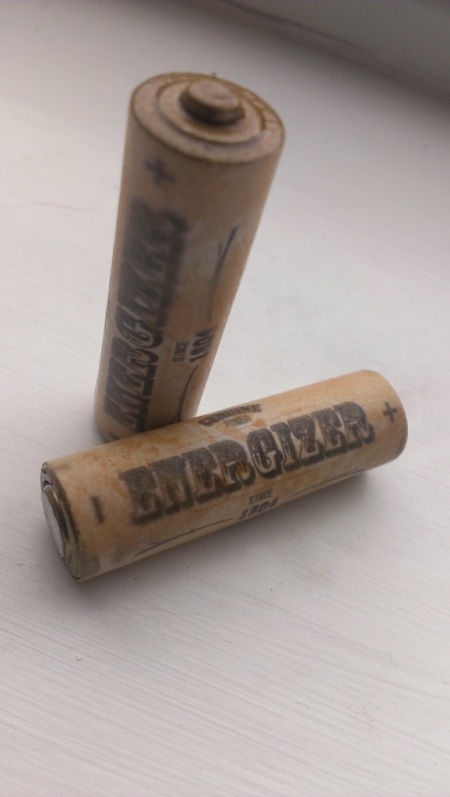
To create the finished batteries, I first painted the ends with a layer of brown spray paint and then loosely sprayed on the gold to give it an aged gold look, then once it was dried, stuck on the labels and lacquered over the lot. Batteries, finished.
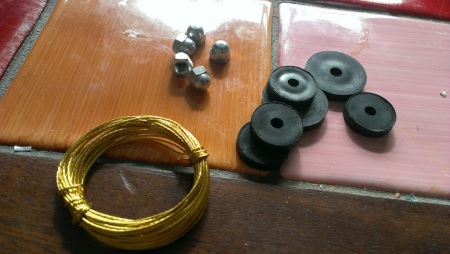
You’ll always be buying supplies. This bunch included some dome head nuts, 20mm plastic tap washers and picture wire. Why, will become apparent later.
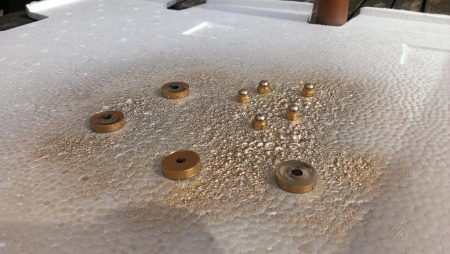
Spraying the dome head nuts and tap washers in Plasti-Kote gold. I like to paint outside when the weather is good. I actually tend to use large pieces of polystyrene as my spray base. It stops me getting paint on anything but if I want to quickly move things, they don’t fall over and get messed up as it’s rigid.
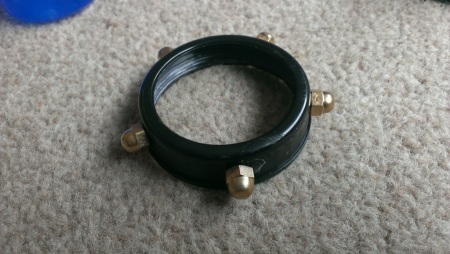
Using a simple supe
r glue, I stuck the dome head nuts at five points around one of the pre-made goggle eyepieces. To do this accurately, I printed out a five point star, placed the eyepiece on top and marked the five locations.
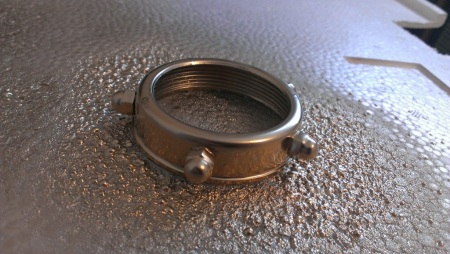
Then, then entire piece was resprayed gold. Only one of the two eyepieces was done like this. The other was left black with the gold dome head nuts.
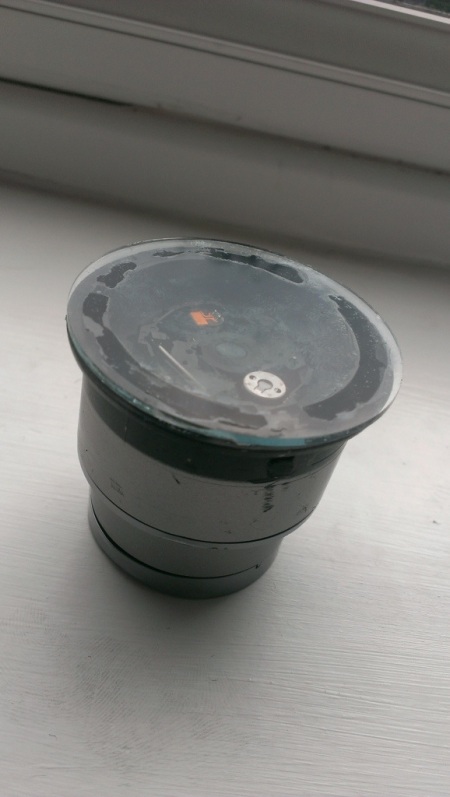
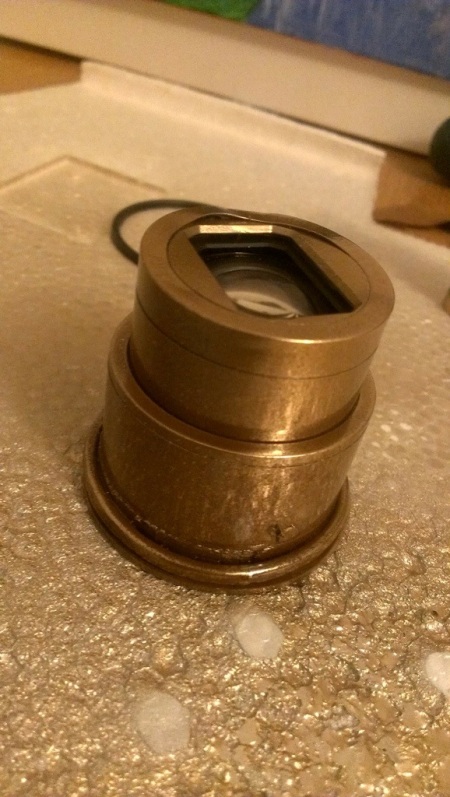
I took one of the plastic goggle lenses, and superglued to it the bottom of the camera lens
Then sprayed the whole thing a mix of brown and gold. By layering up these two colours, can you get an authentic looking aged gold effect. I call it simply “steampunk colour”. It’s particularly effective if you let the can spurt so that you get an uneven layering.
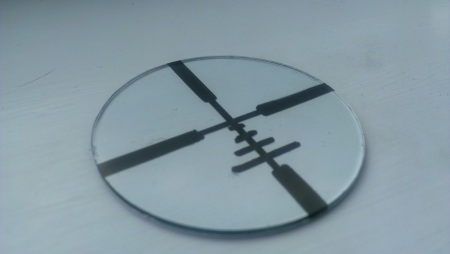
On the second plastic goggle lens, I drew a reticle with a ruler and a permanent marker. Simple, really, and didn’t require over engineering to get a nice looking solution
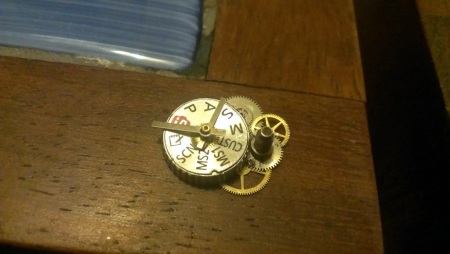
I took the dial off the same camera that the lens came from, and using a load of “steampunk parts” (clock parts, watch dials, cogs etc) that I bought from eBay I jazzed it up. It would be really easy to overdo this, so I kept it simple. All it took was superglue, some bottle head pliers and a steady hand.
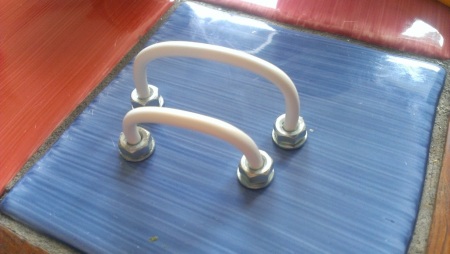
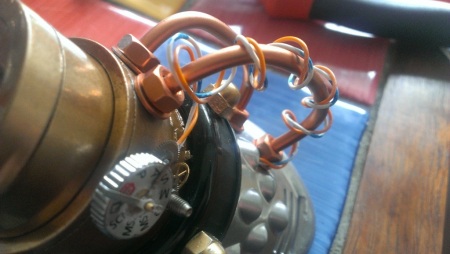
Next, I took some telephone cable (20p a metre from Wilkos) and pushed the ends inside a 8mm nut, then glued it in place and glued a washer to the bottom. Because of the nature of telephone wire, it’s really easy to shape, which makes it ideal for something like this.
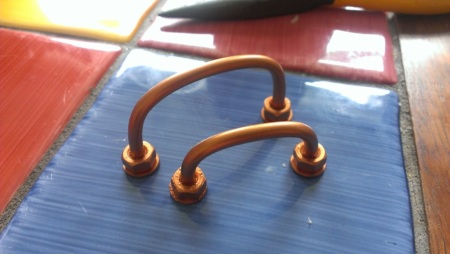
A layer of Plasti-Kote copper paint later, and my fake copper pipes are good to go.
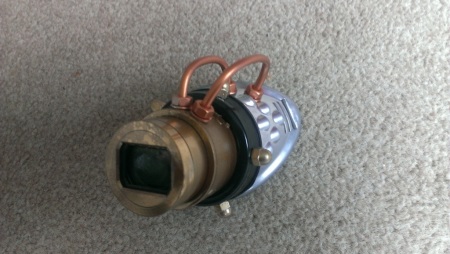
After reassembling one of the eyepieces and super gluing the copper pipes in their correct position (which also keeps the lens from rotating), the one side is starting to take shape. All it needs is some final detailing.
I glued on the dial and stripped the wires from out of some more telephone wire which I other simply twisted around one of the pipes and wedged behind details at each end so that none of the ends were on show.
And with that, one of the eyepieces (admitted the less complex one) is complete, as is part 1 of this walkthrough. I’m still awaiting some parts to complete part 2 as it includes a lighting setup with working crocodile clips that power the lighting off a battery… very cool… as well as the addition of the batteries I made earlier in this episode.
Hope that helped inspire.
Until next time.


Pingback: Effect: Oxidised Copper | We Cosplay